In today’s digital landscape, security is of utmost importance. Cyber threats are rampant, and enabling a robust antivirus program is essential for protecting your personal data and privacy. “Stay Safe: How to Easily Enable Windows Defender on Your PC” offers a comprehensive guide to activating Windows Defender, the built-in antivirus solution in Windows 10 and Windows 11. This guide is beneficial for anyone looking to improve their computer’s security, especially those who may not be familiar with Windows security settings. Windows Defender provides a user-friendly interface and effective protection against various types of malware, making it a suitable choice for both tech-savvy users and everyday individuals.
How to Do It
Prerequisites
- The guide is applicable to Windows 10 (version 1903 and later) and Windows 11.
- Ensure your system is updated; check for updates in Settings → Update & Security → Windows Update.
- Consider backing up important data in case of any unforeseen issues. You can create a restore point by going to Control Panel → System and Security → System → System Protection → Create.
Step-by-Step Instructions
- Go to the Windows Security settings by navigating to Start → Settings → Update & Security → Windows Security.
- Click on Open Windows Security.
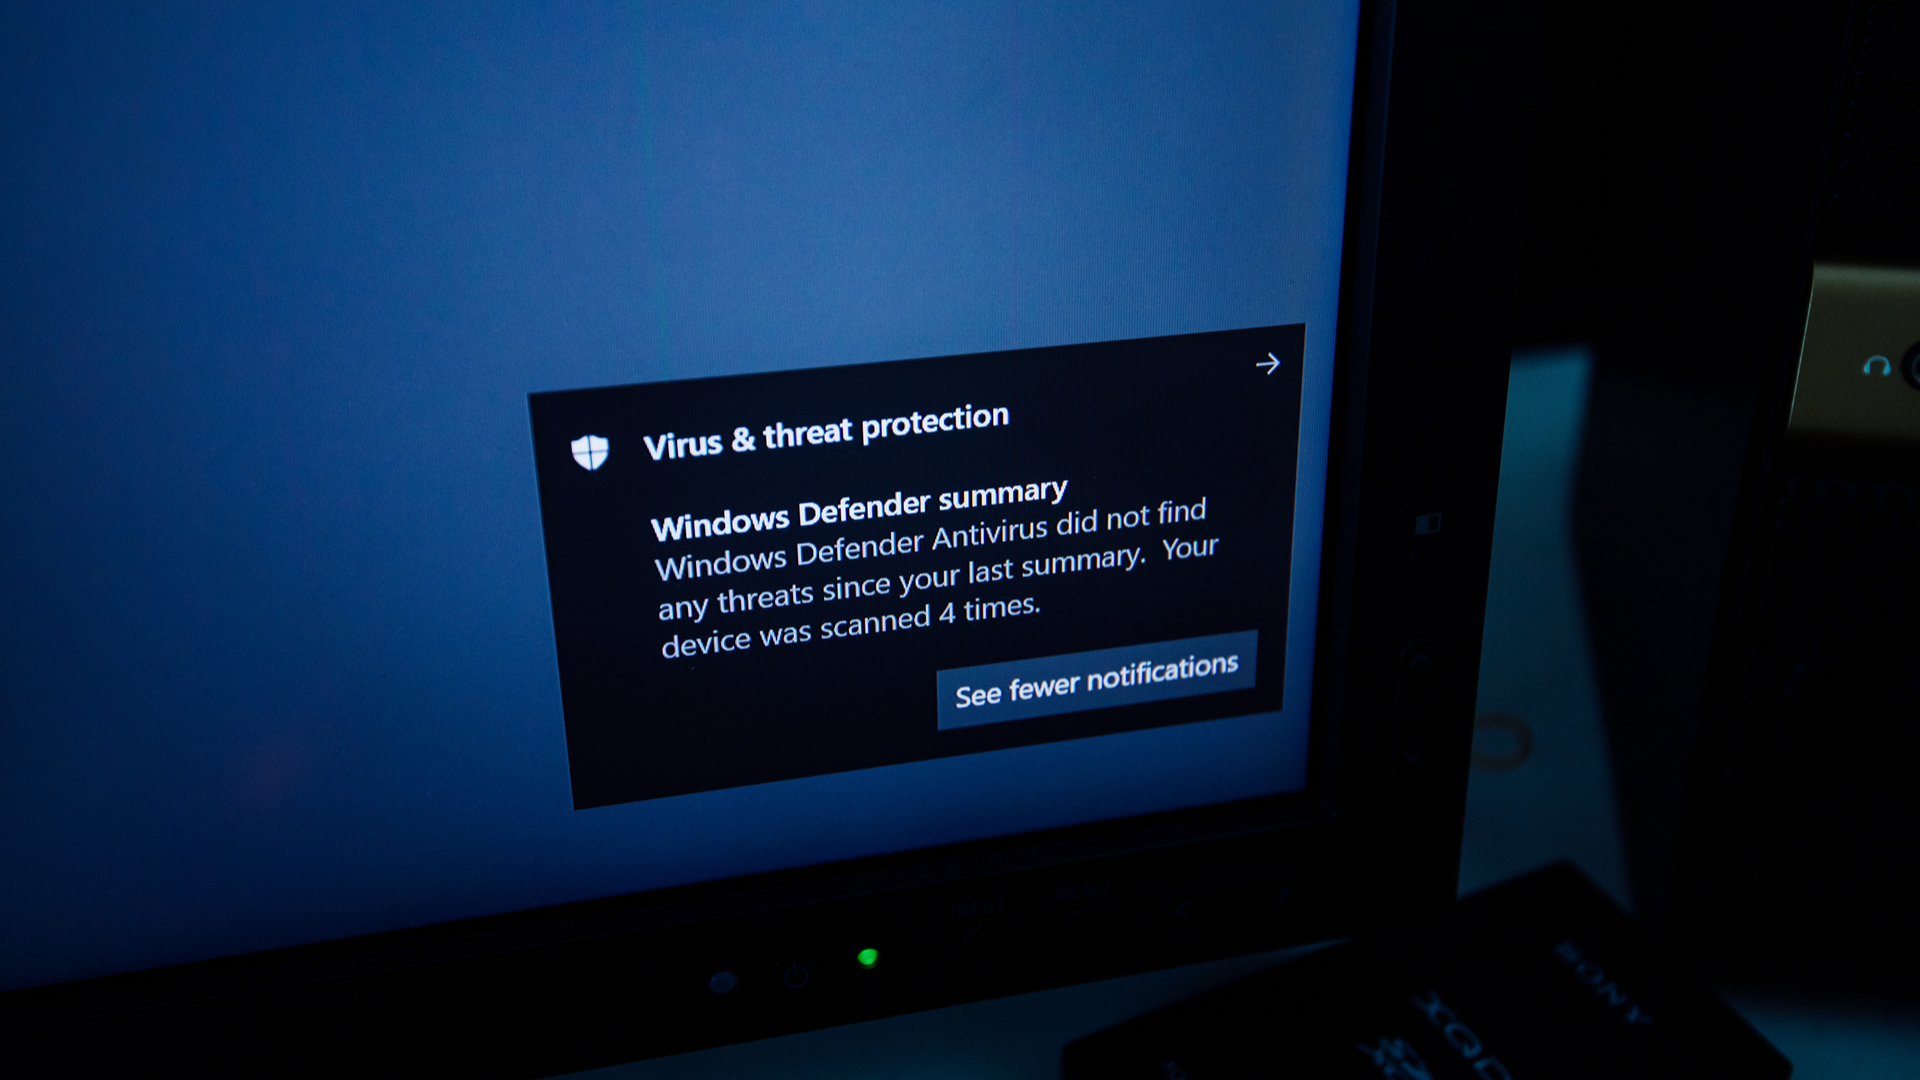
- Select Virus & threat protection from the left sidebar.
- Under the Virus & threat protection settings, click on Manage settings.
- Toggle the switch under Real-time protection to enable it. This action activates Windows Defender.
- To verify that Windows Defender is active, return to the Virus & threat protection section and check if the status reads “No current threats.”
# PowerShell command to enable Windows Defender

Set-MpPreference -EnableRealtimeMonitoring $true
This command activates real-time monitoring, enhancing your system’s security.
Best Practices, Tips & Pitfalls
- Regularly check for updates to ensure Windows Defender has the latest virus definitions.
- Schedule periodic scans of your system by selecting Scan options under the Virus & threat protection settings.
- Avoid running multiple antivirus programs simultaneously to prevent conflicts; if you choose another antivirus, consider disabling Windows Defender.
- Be cautious about disabling real-time protection temporarily; only do so when necessary and re-enable it immediately after.
- If you encounter issues, check the Windows Defender Security Center for error codes and troubleshooting options.
Alternatives & Comparisons
While Windows Defender is a solid option, there are other antivirus solutions available that may suit different needs. Here are a few alternatives:
| Option | Best for | Trade-offs |
|---|---|---|
| Norton Antivirus | Comprehensive protection with added features | Subscription-based model |
| Malwarebytes | Excellent for malware removal | Less effective at real-time protection |
| Bitdefender | Lightweight and efficient | Complex settings for beginners |
Key Takeaways
- Windows Defender is an effective built-in antivirus solution for Windows 10 and 11.
- Enabling Windows Defender is straightforward through the Windows Security settings.
- Regularly update your system and perform scans for optimal protection.
- Consider alternatives if you have specific security needs or preferences.
FAQ
How do I know if Windows Defender is running?
You can check its status by navigating to Start → Settings → Update & Security → Windows Security → Virus & threat protection. If it indicates “No current threats,” it is running correctly.
Can I use another antivirus with Windows Defender?
Technically, yes, but it’s not recommended to run multiple antivirus programs simultaneously due to potential conflicts. You should disable Windows Defender if you choose a different antivirus.
What should I do if Windows Defender won’t enable?
If you encounter issues, check for system updates or consider running a troubleshooter. You can find this option under Settings → Update & Security → Troubleshoot.
