In today’s digital landscape, knowing how to enable Windows 11 is crucial for both personal and professional users. With its new features and enhanced performance, Windows 11 is designed to improve user experience. Whether you’re upgrading from Windows 10 or setting up a new device, understanding the steps for enabling Windows 11 is essential. This guide, “How to Enable Windows 11: Everything You Need to Know,” aims to provide a comprehensive walkthrough. We will cover prerequisites, detailed steps, best practices, and possible alternatives to ensure a smooth transition.
How to Do It
Prerequisites
- Operating System Requirements: Ensure your current OS is Windows 10 version 20H1 or later.
- Hardware Requirements: Check that your device meets the minimum hardware specifications for Windows 11, which include a compatible 64-bit processor, 4 GB RAM, and 64 GB storage.
- Backup: Always back up your important files before proceeding. You can use built-in tools like File History or Third-party software to create a backup.
- Rollback Plan: Familiarize yourself with how to roll back to Windows 10 if necessary. This can be done through Settings → Update & Security → Recovery.
Step-by-Step Instructions
- Check Windows Update: Go to Settings → Update & Security → Windows Update. Click on ‘Check for updates’ to ensure your system is ready for the upgrade.
- Download Installation Assistant: If Windows 11 is available, you can use the Installation Assistant. Visit the official Microsoft website to download the tool.
- Run the Installation Assistant: Open the downloaded file and follow the prompts. This will guide you through the installation process.
- Activate Windows 11: After installation, make sure to activate it. Go to Settings → Update & Security → Activation and follow the prompts.
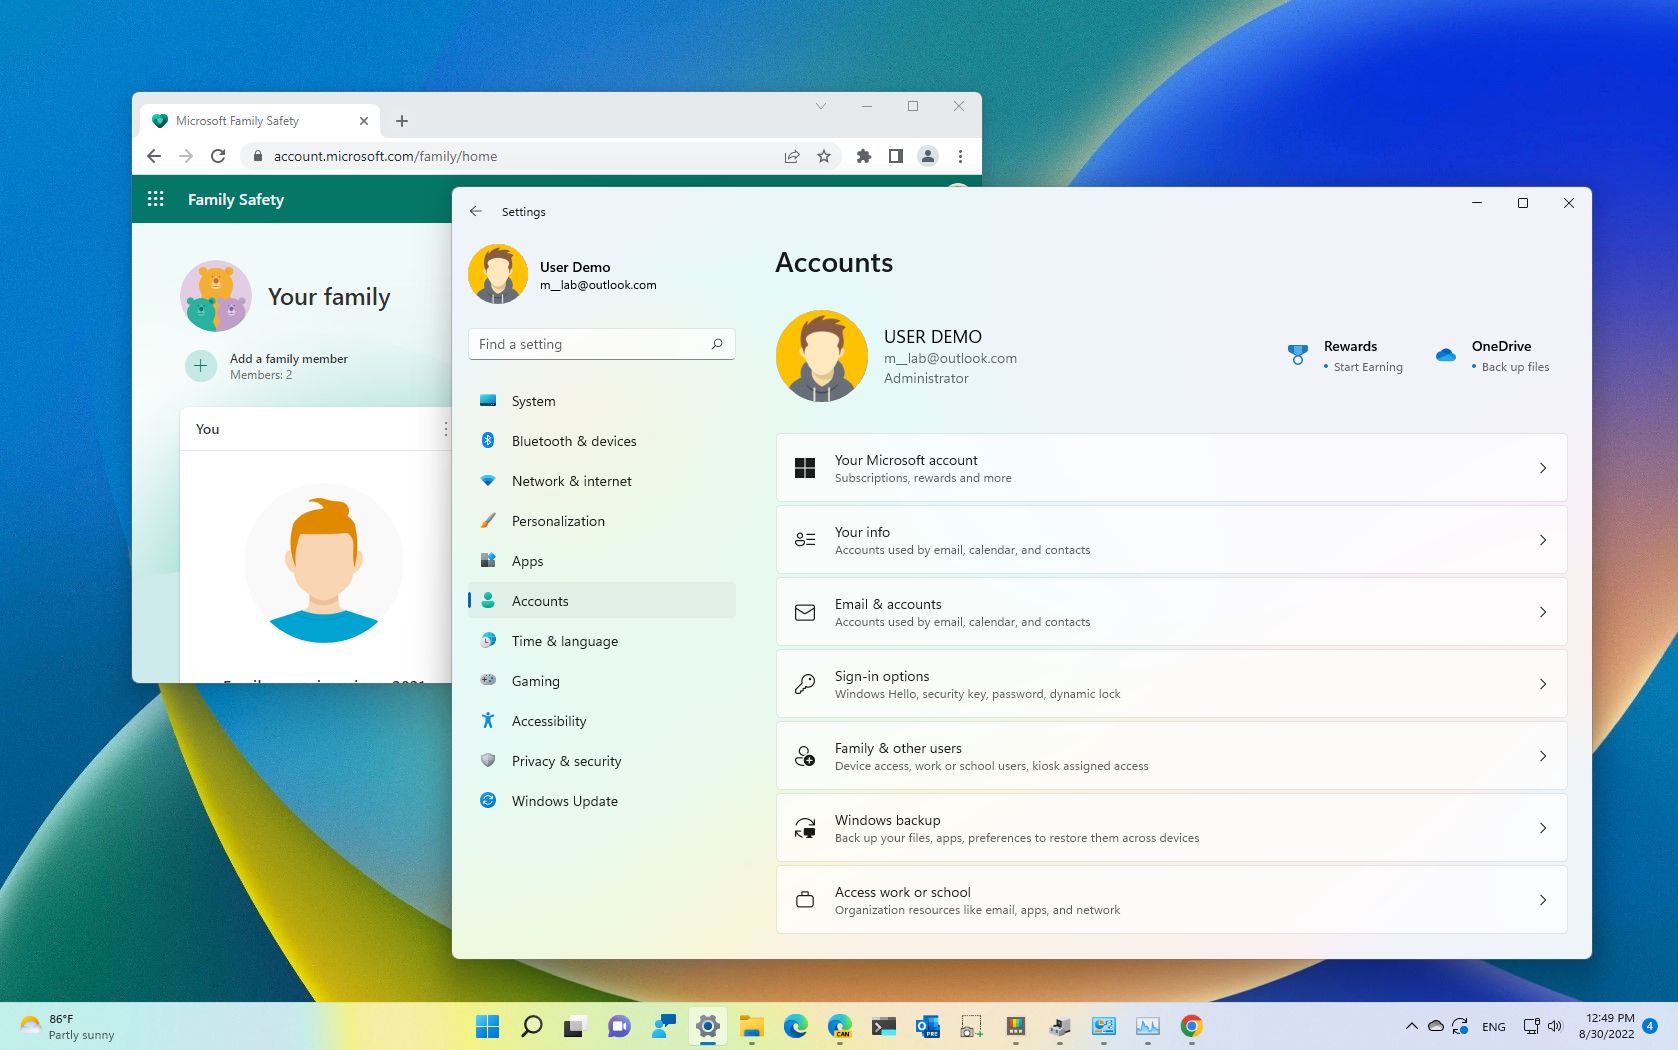
- Verify Installation: Once installed, check your version by going to Settings → System → About to confirm you are running Windows 11.
Verify it worked: After each step, confirm that you see the expected UI elements and options.
Best Practices, Tips & Pitfalls
- Keep Your System Updated: Regularly check for updates to ensure compatibility and security.
- Use Windows 11 Compatible Software: Ensure that your applications are compatible with Windows 11 to avoid potential issues.
- Monitor System Performance: After installation, monitor your system’s performance and adjust settings as necessary.
- Common Errors: If you encounter error codes during installation, refer to the Microsoft support page for troubleshooting tips.
- Don’t Rush: Take your time to read prompts and instructions during installation to avoid accidental misconfigurations.
Alternatives & Comparisons
While Windows 11 offers several advanced features, some users may consider alternatives. Here’s a brief comparison of two viable options:
| Option | Best for | Trade-offs |
|---|---|---|
| Ubuntu | Programming and customization | Less user-friendly for non-tech users |
| macOS | Design and video editing | Higher cost and hardware limitations |
Key Takeaways
- Ensure your device meets the minimum hardware and OS requirements before starting the upgrade process.
- Backup important files and understand how to roll back to Windows 10 if necessary.
- Follow step-by-step instructions carefully to successfully enable Windows 11.
FAQ
What are the minimum system requirements for Windows 11?
The minimum requirements include a compatible 64-bit processor, 4 GB RAM, and 64 GB storage, along with a DirectX 12 compatible graphics card.
Can I upgrade from Windows 10 to Windows 11 for free?
Yes, if your device meets the system requirements, you can upgrade from Windows 10 to Windows 11 at no cost.
What if my computer doesn’t support Windows 11?
If your hardware does not meet the requirements, you may consider continuing with Windows 10 or exploring alternatives like Linux distributions or Windows 10 Lite versions.
